A server alias can be used to add another name to visit your site using. It’s often useful if you have WordPress Multisite setup in order to get it set up properly, or if you wish to visit your site under a slightly different name.
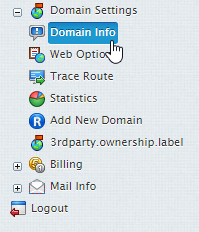
1. Go to Domain Info.

2. Click on the domain you wish to make a server alias for.
3. Click the pencil icon in line with Web Services to edit them.

4. Click Add Alias.

5. Type in the alias you wish to add and click Submit.

6. Apply the new changes after the settings have been added successfully.

7. Wait 5-10 minutes for the new settings to take affect and then you should be able to visit the site via the new alias.

Classification: Public
Last saved: 2019/07/02 at 10:10 by
